Container Rental Services: Bridging the Gap for Remote Project Sites
Remote building sites are hours from a depot. A step-by-step plan for sizing, placing, sorting and scheduling rental containers so waste never stalls work.
- Box code
TPS 01- Added
- Re-labelled
- Read time
- 2 min read
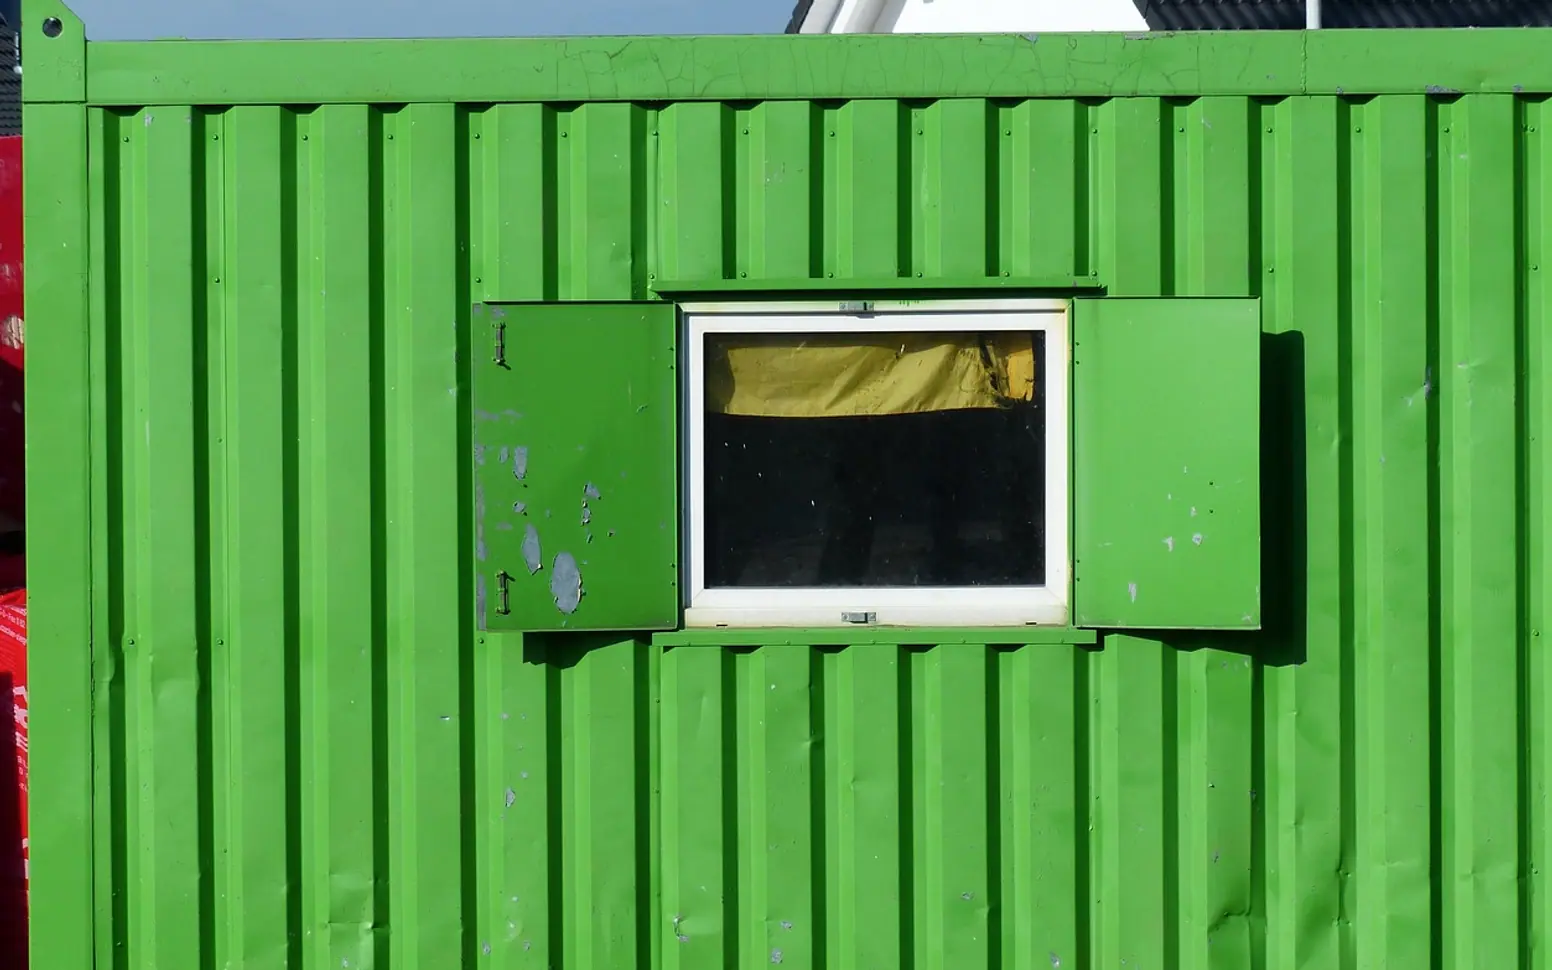
Work far from town has its own rhythm. Materials arrive in large deliveries, crews stay on site for long stretches, and the nearest recycling yard may be a long drive away. In that setting waste stops being an afterthought and becomes a logistics problem. Rental containers solve much of it, provided they are planned with the same care as the rest of the job.
Step one: estimate what the job will produce
Start with the work schedule rather than a guess. Demolition and groundwork phases produce heavy, dense material such as concrete, brick and soil. Fit-out phases create lighter but bulkier waste: packaging, offcuts, insulation and plasterboard. Listing the phases and the materials each one generates gives a realistic picture of how many containers are needed, of which size, and when.
For rubble from renovation or demolition, specialists such as Bauschutt entsorgen Hanau offer containers sized for heavy mineral waste, which is helpful because rubble fills weight limits long before it fills the volume of a standard skip.
Step two: plan the site layout
On remote sites, access is often the hardest constraint. Gravel tracks, soft ground and narrow gates can stop a truck from reaching the ideal spot. Walk the route with the rental company in mind and agree on positions that are:
- Firm and level enough to carry a full container in wet weather.
- Close to where waste is produced, so crews are not carrying loads across the site.
- Clear of overhead lines, trenches and stored materials.
- Away from watercourses and drainage channels.
Step three: separate at the source
Mixed waste is the most expensive kind to dispose of and the hardest to recycle. Placing separate containers for mineral rubble, timber, metal and general waste, each clearly labelled, lets crews sort as they work. Hazardous items such as solvents, oil-contaminated rags or treated wood need their own secure handling; ask the provider how these should be stored and collected before the first one turns up. Sensitive environments in particular call for lids or covers so rain does not wash anything into the ground.
Step four: set a realistic exchange schedule
Every trip to a distant site costs time and fuel, so the aim is to exchange containers when they are full, not when a calendar says so. Rental periods are usually flexible, which allows containers to stay through quiet phases and be swapped more often during demolition. Agree on a simple way for the site lead to request a pickup, and build in some buffer for weather and road conditions, because a full container that cannot be collected quickly brings work to a halt.
Step five: keep records and review
Weighing slips and disposal notes are worth filing as the job goes on. They confirm that waste has been handled properly, which matters for clients and inspections, and they show how much material each phase actually produced. That information makes the plan for the next remote project far more accurate.
Handled this way, containers do more than hold rubbish. They keep the site safe and tidy, protect the surrounding landscape, and let the crew concentrate on the work they came to do.